

 Login
Login- Consulting
- Training
- Partners
- About Us
x
AWS, Azure, Cloud Computing, Kubernetes
 8 Mins Read

 May 27, 2022
Microk8s is an orchestrating tool for automating containerized applications’ management, deployment, and scaling. It is a CNCF-certified upstream Kubernetes deployment that runs entirely on our workstation.
Learn more about 8 Key Attributes of Modern Cloud-Native Architecture
Being a snap, it runs all Kubernetes services natively while packing the entire library. MicroK8s doesn’t require a virtual machine, unlike tools like Minikube, which spins up a local virtual machine for the Kubernetes cluster. This feature has its shortcomings also. Microk8s requires Linux (distributions that support snap) while tools like minikube offer support. We will need to set up Linux on top of a virtual machine if we are to deploy microk8s on a non-Linux OS.
If you are new to Kubernetes, here is A Beginner’s Guide To Kubernetes With Real-Time Example.
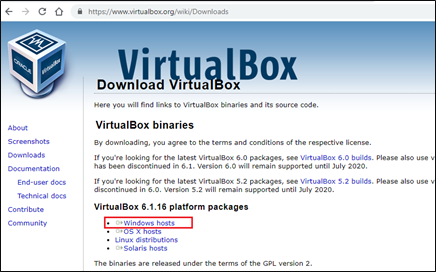
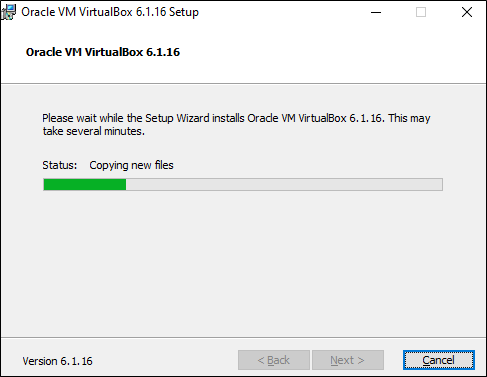
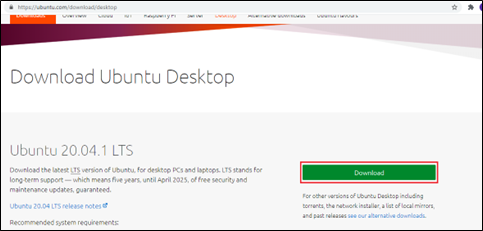
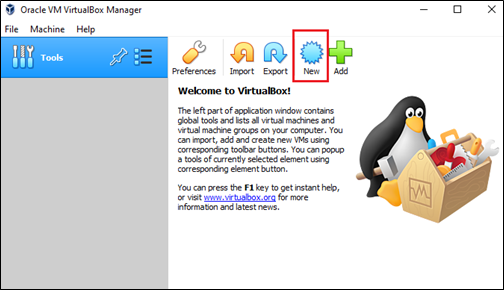
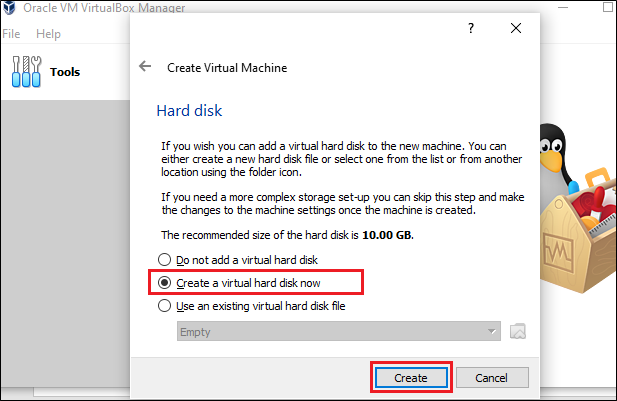
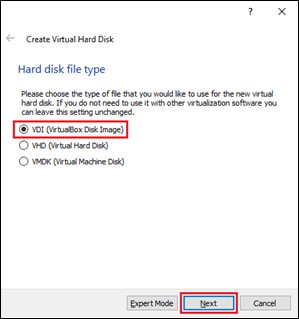
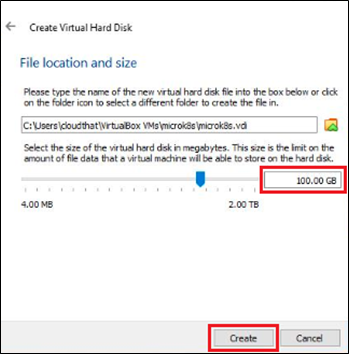
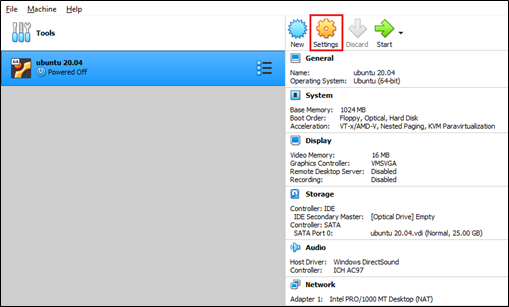
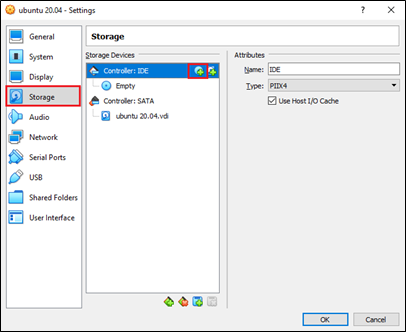
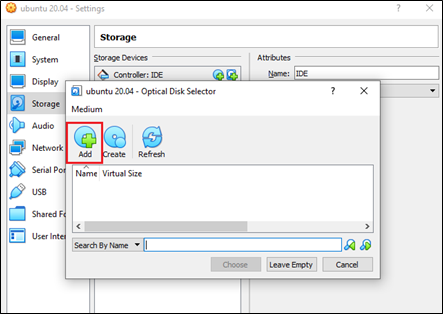
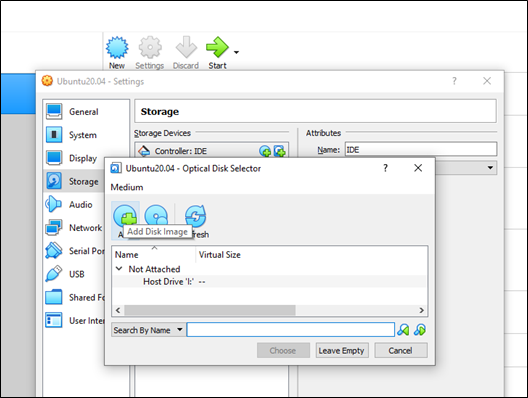
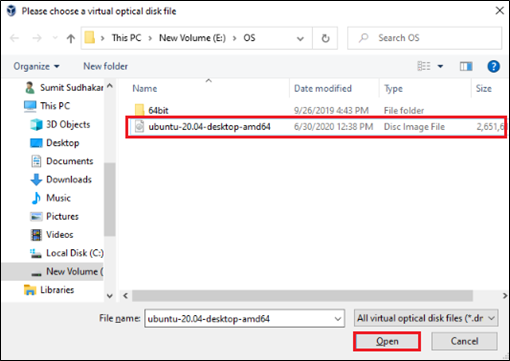
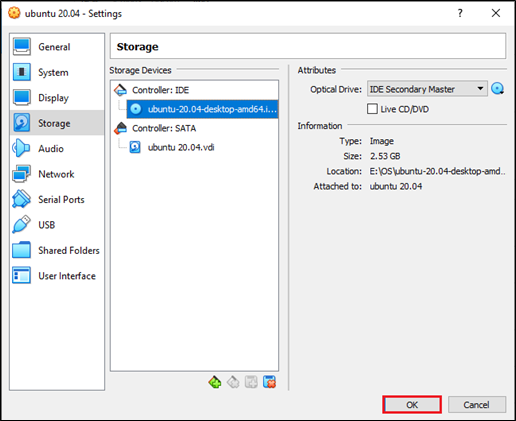
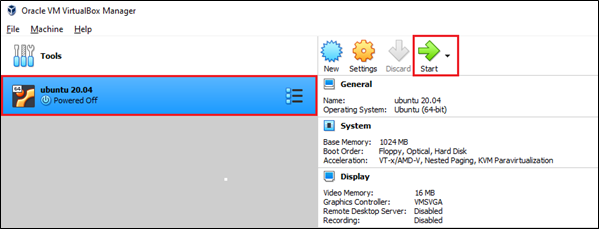
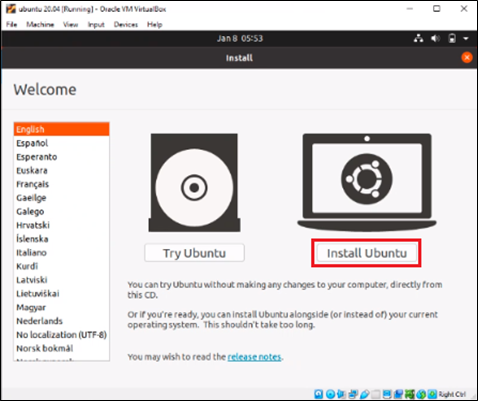
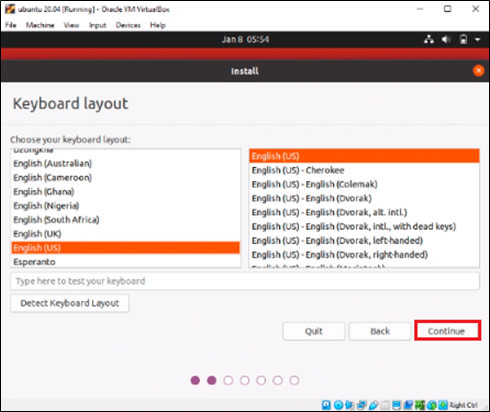
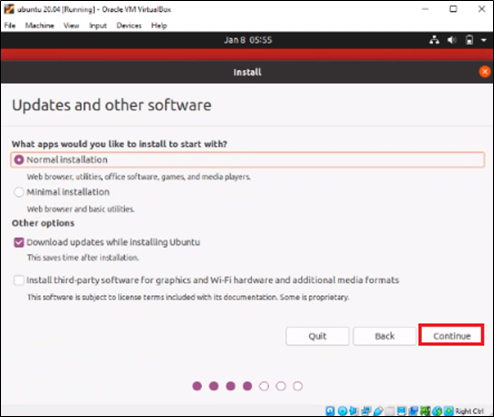
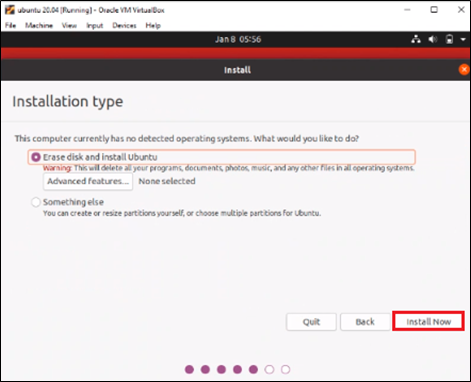
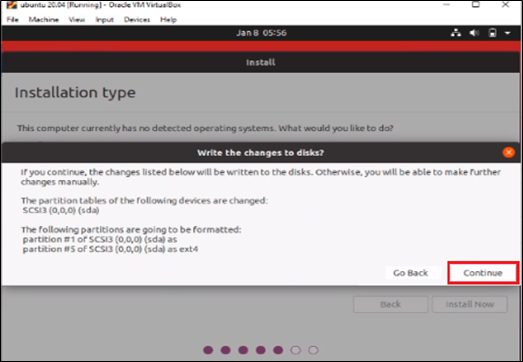
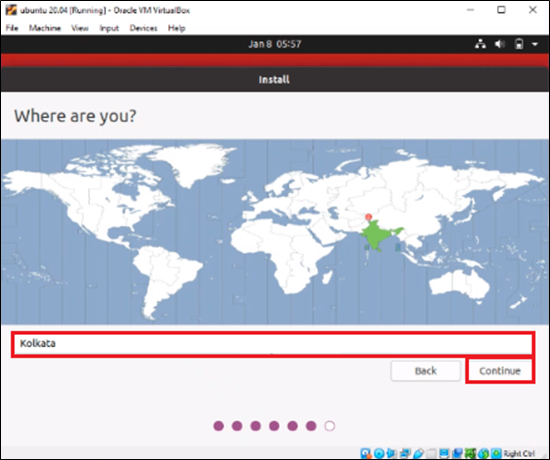
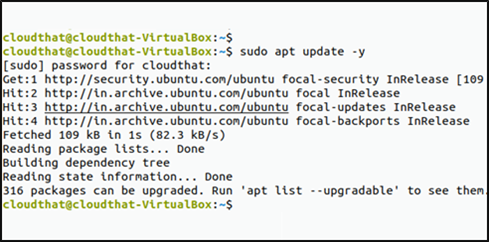
We follow the approach of installing Ubuntu 20.04 on top of Windows 10 using VirtualBox. You can use an existing Ubuntu machine or spin up an ubuntu server on the cloud.


|
1 |
$ sudo apt update -y |
|
1 |
$ sudo hostnamectl set-hostname Microk8s |

|
1 |
$ sudo snap install microk8s --classic |
|
1 |
$ sudo snap install microk8s --classic --channel=1.20/stable |

|
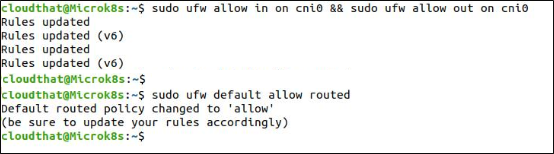
1 2 |
$ sudo ufw allow in on cni0 && sudo ufw allow out on cni0 $ sudo ufw default allow routed |
|
1 |
$ sudo usermod -a -G microk8s $USER |

|
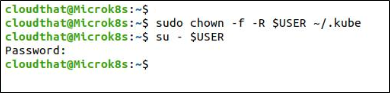
1 2 |
$ sudo chown -f -R $USER ~/.kube $ su - $USER |
|
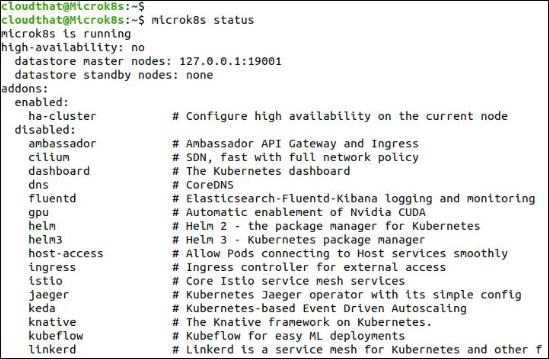
1 |
$ microk8s status |
|
1 |
$ microk8s kubectl get nodes |

|
1 |
$ sudo vi ~/.bash_aliases |


|
1 2 |
$ su - $USER $ kubectl get nodes |

|
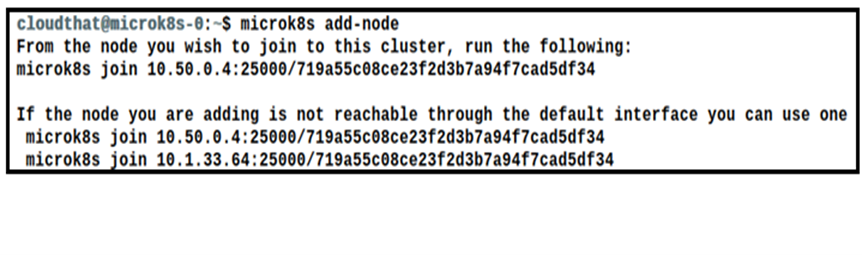
1 |
$ microk8s add-node |
|
1 |
$ kubectl get nodes |
|
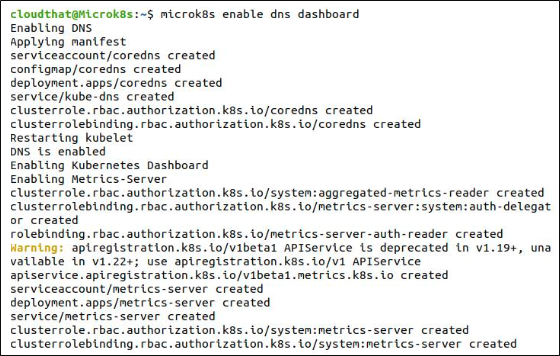
1 |
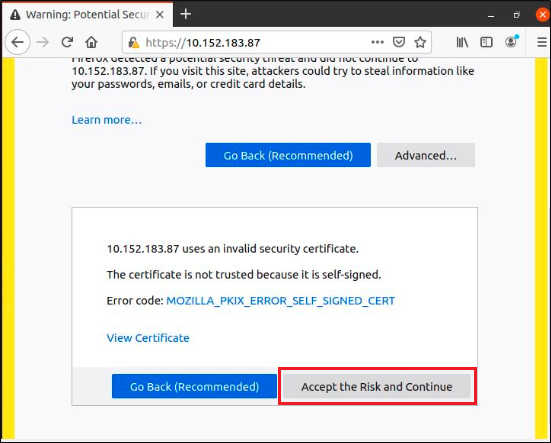
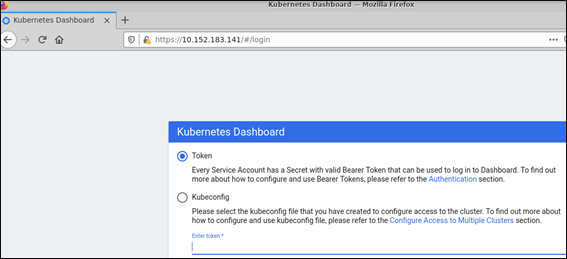
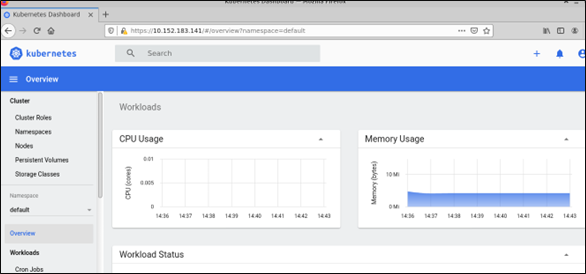
$ microk8s enable dns dashboard |
|
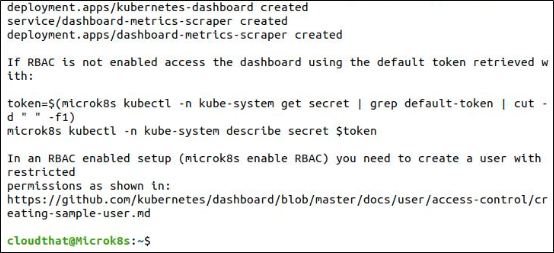
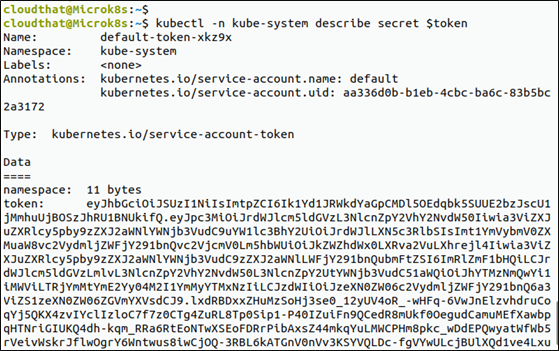
1 2 |
$ token=$(kubectl -n kube-system get secret | grep default-token | cut -d " " -f1) $ kubectl -n kube-system describe secret $token |

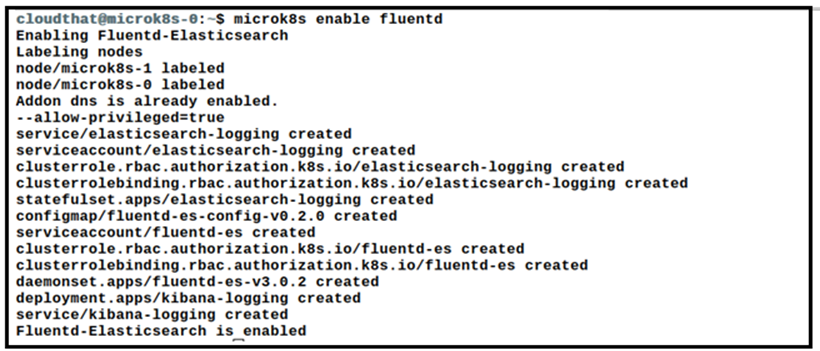
Enable the Elasticsearch-Fluentd-Kibana logging and monitoring solution
|
1 |
$ microk8s enable fluentd |
Microk8s support using Kubernetes cluster using a single node (Linux). But it also supports clustering. So it is ideal to use three-plus nodes to ensure high availability.
MicroK8s uses Dqlite, a high-availability SQLite, as its datastore, a reliable datastore for storing the cluster state and providing high availability. Dqlite is a fast, embedded, persistent SQL database perfect for fault-tolerant Kubernetes clusters. In addition, it removes process overhead by embedding the database inside Kubernetes itself and reduces the overall memory footprint of the cluster.
Since Microk8s doesn’t require spinning up a virtual machine, we will have more resources to run our workloads and other applications. As a result, microK8s are ideal for less resource-consuming systems and IoT devices, given their smaller footprint.
CloudThat is on a mission to build a robust cloud computing ecosystem by disseminating knowledge on technological intricacies within the cloud space. Our blogs, webinars, case studies, and white papers enable all the stakeholders in the cloud computing sphere to advance in their businesses. As a pioneer in the Cloud consulting realm, CloudThat is AWS (Amazon Web Services) Advanced Consulting Partner, AWS authorized Training Partner, Microsoft Gold Partner, and Winner of the Microsoft Asia Superstar Campaign for India: 2021. To get started, go through our Expert Advisory page and Managed Services Package that is CloudThat‘s offerings. Then, you can quickly get in touch with our highly accomplished team of experts to carry out your migration needs.
|
Voiced by Amazon Polly |
SHARE

AI/ML, Cloud Computing
By Livi Johari
Jul 20, 2026

AI/ML, Cloud Computing
By Livi Johari
Jul 20, 2026

AWS, Cloud Training
By Himisha Raval
Jul 14, 2026

AWS, DevOps
By Himisha Raval
Jul 14, 2026


Artificial Intelligence, Data science
By Himisha Raval
Jul 14, 2026

AI, Data Analytics
By Himisha Raval
Jul 14, 2026

Agentic AI, Prompt Engineering
By Himisha Raval
Jul 14, 2026
Our support doesn't end here. We have monthly newsletters, study guides, practice questions, and more to assist you in upgrading your cloud career. Subscribe to get them all!

Comments