

 Login
Login- Consulting
- Training
- Partners
- About Us
x
AWS, Cloud Computing
 5 Mins Read

 January 13, 2022
AWS Web Application Firewall (WAF) is a firewall designed to protect web applications and APIs against usually found web exploits that may compromise security, affect high availability, consume excessively, and exhaust existing resources.
By setting up a WAF, you would not only monitor and track the requests reaching your AWS resources, but you could also block or allow them to pass based predetermined set of rules. As a result, it would lead to cleaner server application logs, common attacks mitigation, less traffic on the server instances, and most importantly, cost-cutting.

Image source: aws.amazon.com
AWS CloudFront allows the use of custom origins to serve content, which means you can have a WAF protect any server, even those not hosted on AWS. Additionally, the API Gateway can act as an HTTP proxy allowing a WAF to protect any non-hosted AWS API as the traffic routes through the gateway.
At the top level, the WAF consists of a Web ACL assigned to one or more supported AWS resources. The Web ACL contains a collection of rules which determine whether a given request should be allowed or blocked. Those rules can be your own rules or provided by a 3rd party.
The protected AWS Resource forwards the request it receives to the WAF. If the WAF determines the request should be blocked based on rules applied, the AWS resource will generate a 403 response back to the client. If allowed, the request is forwarded onwards. The 403 response varies based on the AWS resource type. Some resources, such as CloudFront, allow you to customize the default message. There will be no indication to an attacker that the WAF is the one who explicitly blocked the request.
Monitoring WAF allows you to log requests through a Kinesis Firehouse to various AWS services such as an S3 Bucket, Redshift, or the Elastic Search Service. Every rule or rule group can create CloudWatch metrics enabling you to track the number of blocked, allowed, or counted requests in the CloudWatch dashboard.
Take necessary permissions from the administrator for AWS managed WAF policies
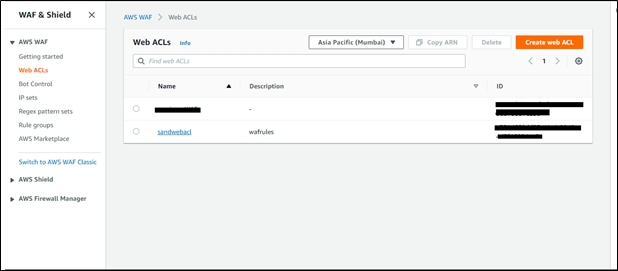
Click on WAF & Shield to open the service.


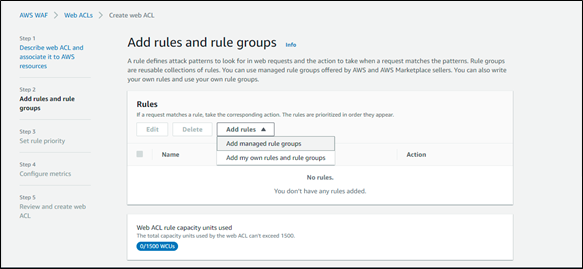
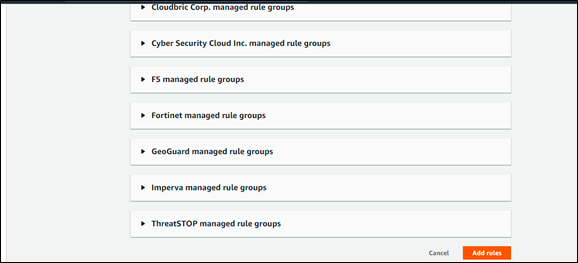
Step 4: Add an AWS Managed Rules rule group
To add an AWS Managed Rules rule group.


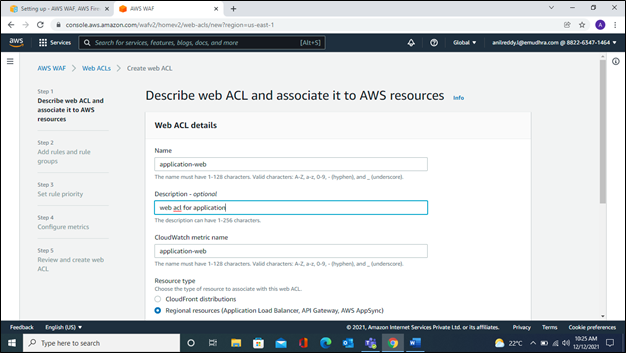
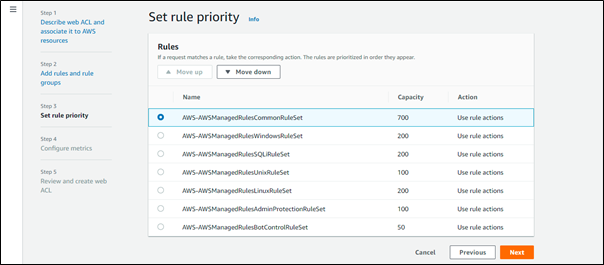
Step 5: Finish your Web ACL configuration:

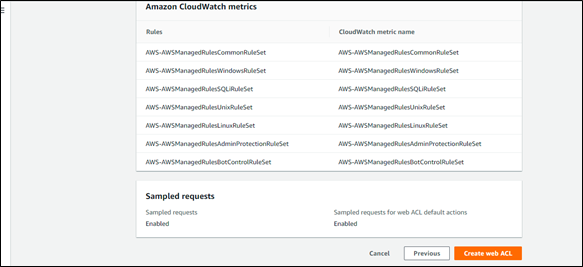

Step 6: Monitor WAF Metrics:

With a growing business and a more prominent user base, security concerns grow alarming. Hence the need for high-level protection of business environments running in the public cloud is paramount. AWS WAF leverages various security rules to strengthen the cloud firewall before the application to ensure that its uptime is intact even if a malicious attack occurs.
Learn more about security in this blog
Let me know if you have any queries, and I will answer them quickly. Stay Tuned for more on Security, Cloud, and other advanced technologies.
|
Voiced by Amazon Polly |
SHARE


AI/ML, Cloud Computing
By Livi Johari
Jul 20, 2026

AI/ML, Cloud Computing
By Livi Johari
Jul 20, 2026

AWS, Cloud Training
By Himisha Raval
Jul 14, 2026

AWS, DevOps
By Himisha Raval
Jul 14, 2026


Artificial Intelligence, Data science
By Himisha Raval
Jul 14, 2026
Our support doesn't end here. We have monthly newsletters, study guides, practice questions, and more to assist you in upgrading your cloud career. Subscribe to get them all!

Comments